I don't know that I'll get this posted today. I write in the gap of time where we are ready for church but it isn't time to go...quite yet. This afternoon, we have a family gathering here...It's all my husband asked for this Father's Day. So, I made homemade ice cream.
We've been having such an adventure with ice creams in the past few weeks that I thought it only fair to share my recipes with you, and to weave it all into my most recent posts about coconut, I am going to include a coconut ice cream recipe! It's actually more of a pineapple-coconut recipe and if you want authentic pina-colada taste, you can add a touch of rum. I'll tell you how.
To start, I use the Cuisinart. I don't remember how to use the ice cream makers that use salt. I was so very happy to see this evolution in ice cream making because it's the easiest thing since Ezekiel sprouted grain breads. It cost us well under $100. and got the one with two ice cream bowls. It was my birthday present at the beginning of this month and may well be the most-used birthday gift I've ever used, barring shoes.
Because we drink raw milk, but understand that there are those who are either squeamish about it or not able to access/afford it, I am including how to make the ice creams with both raw milk/cream and non-raw milk/cream.
If you don't use raw, I strongly encourage organic, hormone-and antibiotic-free milk. If you can pay the extra, there are also companies that offer GENTLY-pasteurized milk, meaning they pasteurized at lower temperatures, killing all the bacteria (sorry, even the beneficial ones), but at least leaving some of the enzymes alive to do your gut a little bit of good.
I will also include changes to the Cuisinart recipe in regard to sweeteners. I do not use stevia. I have no reason for this except that my family doesn't care for it. If you know the equivalents, and like it, by all means, do use it.
Cuisinart recommends the following for Vanilla Ice Cream:
1 C. Milk
3/4 C. Sugar
'Pinch' of finely ground Sea Salt
(I don't know about you, but I've watched Emeril and others with their 'pinches' and their 'pinches' are much larger than mine. So, bowing to their expertise, I now use larger pinches. -MY 'pinch' is 10 twists of my salt mill. I say, let your pinch be what you decide tastes best.)
~Whisk until the sugar & salt blend with the milk, then stir in:
2 C. Heavy Cream
1Tbs Vanilla Extract (Try paste, you may never go back.)
Store in refrigerator at least 2 hours or overnight. Follow your ice cream maker instructions for freezing. After it's done, (Cuisinart takes about 20 minutes), put in freezer-proof, covered container and freeze at least 2 hours for firmer consistency.
RAW MILK Vanilla Ice Cream w/alternate sweetener
I suspect that due to the active enzymes in raw milk, the final product tends to come out less firm than that made with pasteurized milk. Whatever the reason, Wardeh of GNOWFGLINS teaches to use all cream instead of using part milk and part cream to aid in firmness. Regardless of which ice cream recipe we use or what ingredients, we freeze the final product for at least 2 hours prior to eating because we like a firmer ice cream unless we have a machine for soft-serve, which we don't.
If you have goat milk, you can easily substitute it for at least 2 of the cups of the dairy required in the recipe. I have to recommend against canned goat milk. I don't understand why, but my husband and I agree that it tastes a little like dirt. Fresh, raw goat milk looks surprisingly 'cleaner' than raw cow milk, (although they are equally clean), because it is a bright white color. It tastes wonderful. Goat milk from cartons in the stores is probably better than canned, but I haven't tasted it or checked for additives, etc...You be the judge of your own comfort level there. Goat milk has such tiny fat globules that the whole milk is 'self-homogenized', with all that good-for-you fat naturally mixed right in. It is the milk of preference for many who have struggled with milk allergies. Because the fat (cream) is mixed in, there may actually be no need for additional cream, even though I did include a cup of cow's cream in a recent batch of goat milk maple-walnut ice cream, (recipe coming up). The votes call it the creamiest yet
Another milk option is coconut milk. When I made Coconut Ice Cream, I used 2 Cups of Coconut Milk and 1 C. of raw cream.
Yet another option for that cup of milk called for in the recipe is yogurt. So far, I have used plain, whole, organic yogurt. I have used my own home-made yogurt as well as Stonyfield's. Both have worked well. I use 1 C. Yogurt to 2 C. Cream. Expect a bit of a 'twang' in your final product. If you'd like less pucker, but still want the beneficial enzymes of yogurt, use only 1/2 C. yogurt mixed with 1/2 C. Cream, (to take the place of the Cup of milk called for in the recipe.)
Since my daughters are still a little mistrusting of raw milk, I make a special batch of this yogurt ice cream for the grandkids. This makes me feel pretty good...They're not getting some of the worst culprits in milk today, and at the same time, they are getting some gut-healthy bacteria.
Now, for the sugar alternatives. This is a great area for experimentation. I say this because I've been experimenting like crazy and so far, nothing has come up as a loser. I don't yet have the guts to downsize the amount, but you probably could. I generally use the same amount of whatever sweetener I am using as the amount of sugar called for in the recipe. Here is a list of the types of sweeteners I've used thus far:
Raw Sugar (Not the best substitute, but I used in the first batch because it is about a half-step better than refined sugar and I wasn't sure how the recipe would react to changes. The results with this gave me the gumption to be more adventurous.)
Coconut Crystals/Coconut Sugar (Doesn't taste like coconut)
Raw Honey
Maple Syrup (used in Maple-Walnut ice cream that blew us all away!)
Coconut Syrup (Doesn't taste like coconut)
Muscavado
Sorghum Molasses
Chocolate Ice Cream:
You can use either Cocoa Powder or Carob Powder. Carob is caffeine-free and just happened to be all I had in the cupboard when I was ready to make the chocolate ice cream. I had used the end of my cocoa powder to make chocolate bean fudge, (which will need tweaking before I feed to family or share here-good but not good enough). I guess I could have waited to make the chocolate ice cream once I realized I had no more cocoa, but I had promised the grandchildren, so I was committed...as well as too lazy to pack them all up into the car just to go get 1 measly can of cocoa powder. So, I chanced it on the carob, which I have never, personally, liked as well as cocoa.
Boy, am I glad I took the chance. It turned out heavenly. You are the first to know it's not actually cocoa but carob. I didn't omit the information on purpose, it's just that no one asked, and I didn't think about it until I reviewed my re-written recipe.
NON-Raw Chocolate Ice Cream:
1 C. Organic, Whole fat Yogurt
Fill 1/2 of a 1/3 C. measuring cup w/ Muscavado Sugar
Fill the other half of the 1/3 C. measure w/Sorghum Molasses (OR, instead of using these 2 ingredients, just use 1/3 C. Dark Brown sugar)
1/2 C. Raw Sugar (or other sugar substitute of your choice)
Pinch of Salt (My 'pinch' is 10 twists of the (sea) salt mill.)
Whisk all the above together until sugar and salt are dissolved.
Add:
3/4 C. Carob or Cocoa, whisk well.
Add:
2 C. Heavy Whipping Cream & 1/2 Tbs. Vanilla Extract or Vanilla Paste (Best!)
Store in refrigerator at least 2 hours or overnight. Follow your ice cream maker instructions for freezing. After it's done, (Cuisinart takes about 20 minutes), put in freezer-proof, covered container and freeze at least 2 hours for firmer consistency.
RAW Chocolate Ice Cream:
The same as above, EXCEPT:
OMIT Yogurt
Use 3 C. Raw CREAM (If you don't have enough cream, can mix w/heavy cream from store.)
I do recommend that you try the muscavado sugar & molasses rather than the Dark Brown sugar, which is not as unrefined as one may think, although just about anything's better than white refined. But in addition to this, these natural sugars impart a final depth of taste that is truly gourmet and can hardly be described as anything less than heaven-sent.
Raw Coconut Ice Cream:
Use the Vanilla Ice Cream recipe, BUT
Use 2 Cups Coconut Milk - WHOLE FAT!
1 C. Raw Cream
In last 5 minutes of freezing, add:
1/2 C. chopped, fresh, pineapple, drained and patted dry
1/2 C. unsweetened coconut
Freeze according to ice cream maker directions. (Cuisinart takes about 20 min. total.) If desired, 1 oz. rum may be added in last 30 seconds of freezing time.
This renders this dessert an 'adults only' delicacy since, unlike when cooking with liquors, the alcohol does not evaporate.
Raw Goat Milk, Maple-Walnut Ice Cream:
Use either Vanilla Ice Cream recipe, BUT:
-Use 2 C. Raw Goat Milk & 1 C. Raw or Heavy Cream
-Use Maple Syrup in place of Sugar
-Use Maple Extract instead of Vanilla
-In last 5 min. of freezing, ADD 1/2 C. walnuts.
As I wrote earlier, I use a Cuisinart. I am not familiar with the workings of other ice cream makers, how much their bowls hold, how long it takes to freeze with them, etc. Please pay attention to the directions on your particular maker, and adjust accordingly. The recipes here make about 32 oz. of ice cream. I use saved yogurt containers for storage...I'm sure you can understand why freezer burn is not a problem here. ;~)
P.S. Although the ingredients can make or break these recipes on a good-for-you basis, be well-aware that in regard to calories, these are not weight-loss recipes!
Showing posts with label sweet cream butter. Show all posts
Showing posts with label sweet cream butter. Show all posts
Sunday, June 19, 2011

Monday, May 2, 2011
Making Sweet Cream, Cultured, Honey, Herb Butters & Coconut-Butter 'Spread'
Making butter at home is crazy easy and I was so happy to find out about it. Don't be afraid of butter, it is our friend...(See here.) The hardest part in the making of butter may well be deciding which type you'd like to make first...sweet cream or cultured?
Although many prefer the robust flavor of cultured butter, if you want to start off with butter that tastes the most like the grocer's, start with sweet cream. Consider also, whether you want your butter salted or unsalted. I've heard it said that cooks like salted butter while chefs like unsalted so they can have more control over how much salt goes into their dishes. I like both.
The difference between sweet cream butter and cultured? Sweet cream is made directly from the cream, just as it is. Cultured butter is made from cultured cream. How does one get cultured cream? By setting the cream on a shelf at room temperature up to 8 hours to culture or, 'sour'. I don't go over 4 hours and usually keep it more around 2 hours, but a strong butter isn't something I enjoy a whole lot, while you just might adore it.
Because I use the cream from one and a half gallons of raw milk, leaving some to do it's job of helping my body assimilate the good in the milk, I only come out with about a pint of cream, which nets 2 small sticks of butter. Sometimes, there is less cream and I only have one stick.
Before starting to make butter, the cream must be skimmed off the top of the milk. The milk should be well-chilled and left alone for at least several hours after bringing home. Jostling, movement, and warmth will cause the cream to mix some with the milk and you want as much cream on top as possible.
 To remove the cream, I use a ladle and carefully press it down on top of the milk until the cream begins to enter the ladle. Don't do this as you get closer to the milk line, as you will force milk to mix with the cream. When you get close to the line, skim by running the edge of the ladle across the top of the cream. DO remember to pull the spoon up against the shoulder edges of the jars...That's where some of the thickest cream is found! I try to leave at least an inch of cream on top. The fat of the milk helps our bodies to make the most of the nutrients in the milk. We need this kind of fat. Don't fear it. The fat of milk brings satiation, ups nutrient value, and fights obesity.

 Using a food processor, with the ridged blade, pour the cream into the bowl. If you are salting, start with 1/4 tsp. and add more to taste, if needed. (Don't use large-grained salt for this. Bob's Red Mill makes a finely ground sea salt, or you can grind your own large grains into small ones using a food processor.)
Place lid on processor and start. If the cream is cold, it will probably 'break' pretty quickly, but if it's warm, it will take a little while longer. Just let the processor continue until then. 'Breaking' is when the fats of the butter, (butterfats), separate from the liquid, (buttermilk). The cream will go through a few stages on it's way to becoming butter and you will hear the processor sound differently at each stage. At first, it will just look like milk swishing around in the bowl, but then, it will begin to thicken. If you stop it at this point, you will see whipped cream and in another case, (without having added salt), you would at this point add unrefined sugar, teaspoon by teaspoon, with the processor going, stopping after each teaspoon to taste-test.
But today, we are making butter, so we don't stop at whipped cream, but allow the processor to continue until the sound changes yet again, and we notice a watery liquid is beginning to splash against the top and sides of the bowl. Give it a few more seconds, stop, and you should see that the cream has separated, leaving the yellow butter in clumpy mounds around the bowl.
Now, place a large bowl beneath a fine strainer. Pour the butter, along with the buttermilk, into the strainer which will allow the buttermilk to collect, while keeping the butter in the strainer. Pour the collected buttermilk into a mason jar and store in the refrigerator. Dry the bowl with a clean cloth or paper towel.
If you want your buttermilk to be clearer, you may strain again using an even finer-meshed strainer, as seen on the right.
Take the butter from the strainer and put it into the dried bowl. I use a rubber/plastic spatula to scrape any remaining butter off the strainer. I am a little compulsive about this because I have so little butter to spare, but if you are one of the lucky ones who has much raw milk to work with, you won't feel the need to be so particular.
It may seem at this point that you are ready to go. But there is another step, called 'washing' the butter. It's not that the butter's dirty, but you will find out as you follow through, that there is still quite a bit of buttermilk within it. It's important to get as much out as possible because by removing the buttermilk, the butter will last longer and have a smoother consistency throughout.
There are a few ways to wash the butter, and I will tell you of two because I haven't quite decided which I like better yet...It really depends on whether or not you are in the mood for getting your hands into the butter or keeping them out of it as much as possible.
Washing Way #1: Even though you hopefully cleaned your hands prior to starting the process, clean them well again, now, being sure to clean beneath fingernails, too. Put the bowl in a clean sink. Hold the butter in your hands, over the bowl, but beneath the faucet. Turn the water faucet on a very low trickle, washing it over the ball of butter. Start squeezing the butter. The 'juice' that leaves the butter will be a milky white. Some of the butter may fall into the bowl, but will float on the collecting water. Just pick it back up, rejoining it to the ball of butter in your hands. When the bowl is full of water, collect any butter pieces that may have fallen, empty the bowl, (you don't want to keep the watered-down buttermilk), and start over with the 'butter squeezing'. Repeat this process 2 or 3 more times. You should notice that less and less milkiness is evident in the 'run-off'. Put the soft butter in a small bowl and place in refrigerator for 15-20 mins.
Washing Way #2: This method will be seen more often if you are looking it up on the Internet, possibly because it seems more sanitary. Put the bowl in a clean sink. Fill the bowl about 2/3 with cold water. Use a spatula, (I like a flexible one over a rigid one, but see what you're more comfortable with), to turn the butter over and over upon itself, pressing down...squishing...to push the buttermilk out of the pockets within the butter. You will notice the water becomes very milky. Pick up any floating bits of butter and incorporate them back into the ball of butter. Holding the butter with the spatula so it doesn't fall out, pour off the milky water. Fill the bowl again and repeat 2 or 3 more times...until the water appears to be mostly clear. Because the butter has been washed mostly beneath cold water, it won't be as soft as in the first method and may not need to be refrigerated before working it into shape, but if it is a little soft, put it in the refrigerator a few minutes to firm up. You do want it to be workable for the purpose of shaping it, so don't forget about it...BUT if you do forget about it, (things happen, I know!), just take it out for a little while to soften a bit.
In the meantime, cut a rectangle, or 2 if you have enough butter, of wax paper. When the butter is firm, divide into 2 pieces if it is large enough. If not, just take the whole amount and place on the wax paper, in the center. You will be shaping your butter into a cylinder. Wrap the paper around the butter, shaping as you go into a fat 'snake', much like when you were a kid making snakes from dough or putty. I have torn my wax paper on occasion, but just get out another and start again if this happens. When it is shaped to your satisfaction, twist the ends of the wax paper. I like to cut them so that they aren't more than an inch longer than the butter on each side-It's easier to store them in my refrigerator.
Honeyed Butter:
After the butter is washed, Add 2 TBS raw honey, local is best nutritionally if you can find it. Stir well, then stir well some more. Place in a lidded container and store in fridge. Be sure to take out of fridge 15-30 mins. before you want to use it as butter can get quite hard when cold.
Herb Butter:
If you started with a pint of milk: Add to the washed butter, 1 tsp. of the herb of your choice. You can add more if you think it needs more, but you can't take it out if it's too much. So start low and go slow. I would only use 1/2 tsp. of stronger herbs, such as rosemary, before adding more.
Coconut-Butter Spread:
Rinse and dry off the food processor bowl, attachment and lid. After butter is washed, put the butter back in the processor. Eyeball an equal amount of unrefined coconut oil and put it in the blender with the butter. (If your kitchen is at about 72 degrees or above, the oil may be in liquid form. If so, you will want to chill it for a while to become hardened.) Process the coconut oil and butter together until thoroughly incorporated into each other...30 seconds to a minute, max. Product will be pourable, so pour into lidded container and place in fridge.
This is delicious, if you like coconut as we do, and won't have to be taken out of the fridge as far ahead as butter does. It's also a great way to get more mileage from your butter if you are limited in raw milk, as we are.
Sometimes, I will add a tad of flax seed oil for it's nutritional value, or toasted sesame oil, for it's special taste, but we are all really very happy with just the addition of the coconut oil.
Now that you have the basics, you can play with your butter! Be creative and see what great tastes you can come up with for your family's enjoyment.
I know I have spoken here specifically of making butter from raw milk, but other than the cultured milk, the other types can be made using pasteurized. Practicing as much as I can along the lines of traditional eating as recommended by WAPF, I can't heartily recommend it. I do understand, however, the desire to get in the kitchen and create from what's already there. Cultured butter can't be done with pasteurized milk because pasteurized milk becomes putrid when left out, while raw milk cultures/sours. Cultured milk will not harm you but putrid milk will...so that should clue us in a little right there.
I realize there may be some reading this who have no desire to purchase or no way possible to purchase raw milk. But if making butter is still something you'd like to try, get heavy cream from the grocer and give it a whirl. If you can, get the hormone and antibiotic-free type.You should end up with a fine-tasting product, but without the same nutritional value as raw milk affords.
More about raw milk here.
~Butter's Up!
UPDATE!
Since first writing this, I have left out the 'washing' step without any problems. We go through our butter rapidly, so there's no real need to worry too much about making it last longer. I also rarely shape the butter any more, unless I want to give it as a gift.
Instead of washing the butter under cold water as shown above, I use very clean hands and hold the butter in a ball in one hand over the strainer, which is over the bowl that collects the buttermilk.
Then, I push gently against the ball of butter, squishing extra liquid out. I do this no more than a minute, then reshape the butter into a ball and drop it into a nice little glass bowl. To make it look even more appetizing, I might use the back of a small spoon to swirl the butter prettily before placing the bowl in the fridge to harden. Cover with wax paper secured with a rubber band or if you prefer, plastic wrap. You can also place the butter into a butter crock and leave on the counter.
Although many prefer the robust flavor of cultured butter, if you want to start off with butter that tastes the most like the grocer's, start with sweet cream. Consider also, whether you want your butter salted or unsalted. I've heard it said that cooks like salted butter while chefs like unsalted so they can have more control over how much salt goes into their dishes. I like both.
The difference between sweet cream butter and cultured? Sweet cream is made directly from the cream, just as it is. Cultured butter is made from cultured cream. How does one get cultured cream? By setting the cream on a shelf at room temperature up to 8 hours to culture or, 'sour'. I don't go over 4 hours and usually keep it more around 2 hours, but a strong butter isn't something I enjoy a whole lot, while you just might adore it.
Because I use the cream from one and a half gallons of raw milk, leaving some to do it's job of helping my body assimilate the good in the milk, I only come out with about a pint of cream, which nets 2 small sticks of butter. Sometimes, there is less cream and I only have one stick.
 |
| Jars of raw milk with cream on top. |
 |
| This batch had a LOT of cream. Notice the line at the lower shoulder. This will help you stay away from the milk during the skimming process. |
 To remove the cream, I use a ladle and carefully press it down on top of the milk until the cream begins to enter the ladle. Don't do this as you get closer to the milk line, as you will force milk to mix with the cream. When you get close to the line, skim by running the edge of the ladle across the top of the cream. DO remember to pull the spoon up against the shoulder edges of the jars...That's where some of the thickest cream is found! I try to leave at least an inch of cream on top. The fat of the milk helps our bodies to make the most of the nutrients in the milk. We need this kind of fat. Don't fear it. The fat of milk brings satiation, ups nutrient value, and fights obesity.
 Using a food processor, with the ridged blade, pour the cream into the bowl. If you are salting, start with 1/4 tsp. and add more to taste, if needed. (Don't use large-grained salt for this. Bob's Red Mill makes a finely ground sea salt, or you can grind your own large grains into small ones using a food processor.)
 |
| Level of cream before processing. |
 |
| Level of cream after processing about 1 minute. |
 |
| If you forgot to add salt, now is a fine time to add it. |
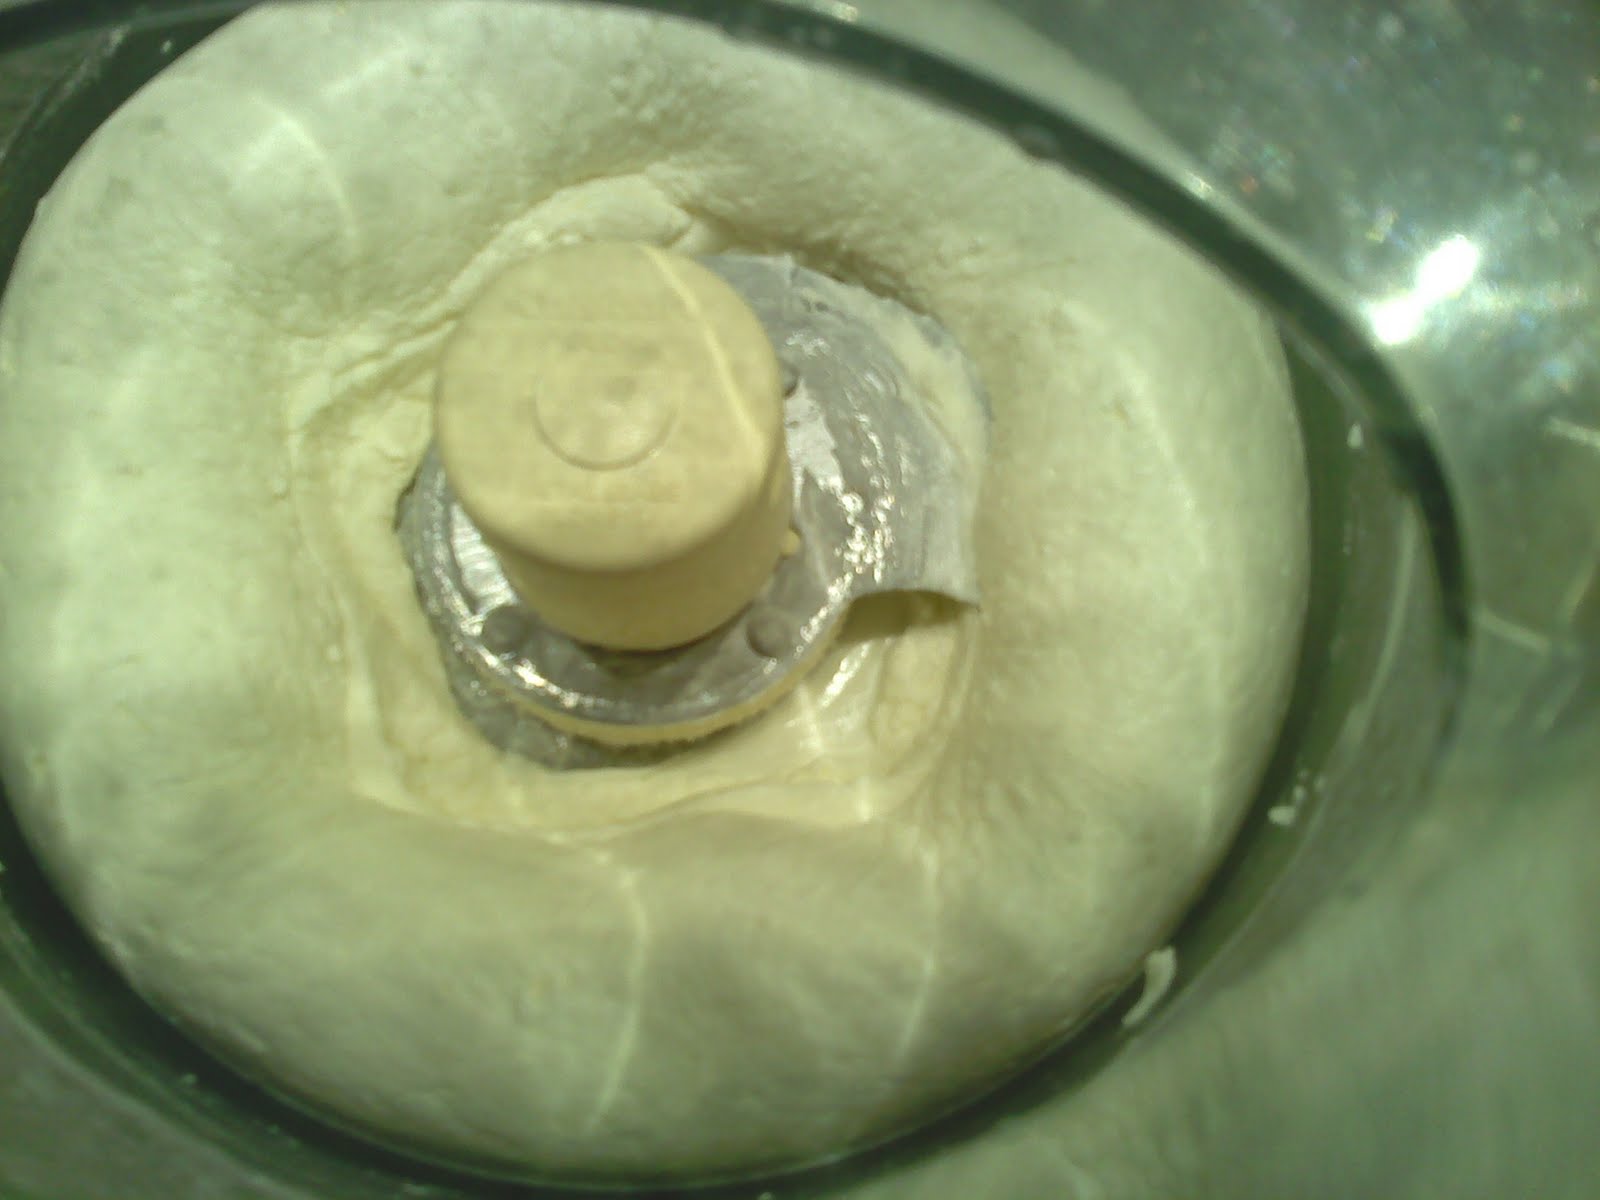 |
| Whipped Cream |
But today, we are making butter, so we don't stop at whipped cream, but allow the processor to continue until the sound changes yet again, and we notice a watery liquid is beginning to splash against the top and sides of the bowl. Give it a few more seconds, stop, and you should see that the cream has separated, leaving the yellow butter in clumpy mounds around the bowl.
 |
| Almost there! |
 |
| 'Breaking' has occurred! |
 |
| Straining off the buttermilk. |
 |
| Some like to strain their buttermilk twice to remove small butter particles. |
Take the butter from the strainer and put it into the dried bowl. I use a rubber/plastic spatula to scrape any remaining butter off the strainer. I am a little compulsive about this because I have so little butter to spare, but if you are one of the lucky ones who has much raw milk to work with, you won't feel the need to be so particular.
It may seem at this point that you are ready to go. But there is another step, called 'washing' the butter. It's not that the butter's dirty, but you will find out as you follow through, that there is still quite a bit of buttermilk within it. It's important to get as much out as possible because by removing the buttermilk, the butter will last longer and have a smoother consistency throughout.
There are a few ways to wash the butter, and I will tell you of two because I haven't quite decided which I like better yet...It really depends on whether or not you are in the mood for getting your hands into the butter or keeping them out of it as much as possible.
 |
| 'Washing' the butter: This is nearly ready...The water hardly shows any milkiness now. |
 |
| Sometimes, I use method #1 and squeeze the butter beneath trickling water. |
Washing Way #2: This method will be seen more often if you are looking it up on the Internet, possibly because it seems more sanitary. Put the bowl in a clean sink. Fill the bowl about 2/3 with cold water. Use a spatula, (I like a flexible one over a rigid one, but see what you're more comfortable with), to turn the butter over and over upon itself, pressing down...squishing...to push the buttermilk out of the pockets within the butter. You will notice the water becomes very milky. Pick up any floating bits of butter and incorporate them back into the ball of butter. Holding the butter with the spatula so it doesn't fall out, pour off the milky water. Fill the bowl again and repeat 2 or 3 more times...until the water appears to be mostly clear. Because the butter has been washed mostly beneath cold water, it won't be as soft as in the first method and may not need to be refrigerated before working it into shape, but if it is a little soft, put it in the refrigerator a few minutes to firm up. You do want it to be workable for the purpose of shaping it, so don't forget about it...BUT if you do forget about it, (things happen, I know!), just take it out for a little while to soften a bit.
 |
| The tool is just to give an idea of size. |
 |
| Rolling the butter into shape. |
 |
| Snipping off the ends of the wax paper...Nice and Neat! |
 |
| Final Product. This batch made 2 sticks. |
If you don't care about shaping, use a spatula to help place the soft butter into a lidded container.
After the butter is washed, Add 2 TBS raw honey, local is best nutritionally if you can find it. Stir well, then stir well some more. Place in a lidded container and store in fridge. Be sure to take out of fridge 15-30 mins. before you want to use it as butter can get quite hard when cold.
Herb Butter:
If you started with a pint of milk: Add to the washed butter, 1 tsp. of the herb of your choice. You can add more if you think it needs more, but you can't take it out if it's too much. So start low and go slow. I would only use 1/2 tsp. of stronger herbs, such as rosemary, before adding more.
Coconut-Butter Spread:
Rinse and dry off the food processor bowl, attachment and lid. After butter is washed, put the butter back in the processor. Eyeball an equal amount of unrefined coconut oil and put it in the blender with the butter. (If your kitchen is at about 72 degrees or above, the oil may be in liquid form. If so, you will want to chill it for a while to become hardened.) Process the coconut oil and butter together until thoroughly incorporated into each other...30 seconds to a minute, max. Product will be pourable, so pour into lidded container and place in fridge.
This is delicious, if you like coconut as we do, and won't have to be taken out of the fridge as far ahead as butter does. It's also a great way to get more mileage from your butter if you are limited in raw milk, as we are.
Sometimes, I will add a tad of flax seed oil for it's nutritional value, or toasted sesame oil, for it's special taste, but we are all really very happy with just the addition of the coconut oil.
Now that you have the basics, you can play with your butter! Be creative and see what great tastes you can come up with for your family's enjoyment.
I know I have spoken here specifically of making butter from raw milk, but other than the cultured milk, the other types can be made using pasteurized. Practicing as much as I can along the lines of traditional eating as recommended by WAPF, I can't heartily recommend it. I do understand, however, the desire to get in the kitchen and create from what's already there. Cultured butter can't be done with pasteurized milk because pasteurized milk becomes putrid when left out, while raw milk cultures/sours. Cultured milk will not harm you but putrid milk will...so that should clue us in a little right there.
I realize there may be some reading this who have no desire to purchase or no way possible to purchase raw milk. But if making butter is still something you'd like to try, get heavy cream from the grocer and give it a whirl. If you can, get the hormone and antibiotic-free type.You should end up with a fine-tasting product, but without the same nutritional value as raw milk affords.
More about raw milk here.
~Butter's Up!
UPDATE!
Since first writing this, I have left out the 'washing' step without any problems. We go through our butter rapidly, so there's no real need to worry too much about making it last longer. I also rarely shape the butter any more, unless I want to give it as a gift.
Instead of washing the butter under cold water as shown above, I use very clean hands and hold the butter in a ball in one hand over the strainer, which is over the bowl that collects the buttermilk.
Then, I push gently against the ball of butter, squishing extra liquid out. I do this no more than a minute, then reshape the butter into a ball and drop it into a nice little glass bowl. To make it look even more appetizing, I might use the back of a small spoon to swirl the butter prettily before placing the bowl in the fridge to harden. Cover with wax paper secured with a rubber band or if you prefer, plastic wrap. You can also place the butter into a butter crock and leave on the counter.
Subscribe to:
Posts (Atom)